An oil leak is not always as simple as spotting a puddle under the car. Engine oil can travel along covers, brackets, crossmembers, and wiring before it finally drips to the ground, which means the wettest area is not necessarily where the leak began.
Small leaks can be even more difficult to trace because they may only appear while the engine is hot, while the vehicle is being driven, or when crankcase pressure increases under load. Finding the source usually requires cleaning the area, inspecting the engine carefully, and sometimes using dye or other testing methods to follow the oil back to its starting point.
The First Step Is Usually Cleaning the Oil Away
Trying to trace a leak on an engine already covered in old oil can be frustrating. Oil may have spread across several components over weeks or months, making it difficult to tell which stain is fresh and which one came from an older repair.
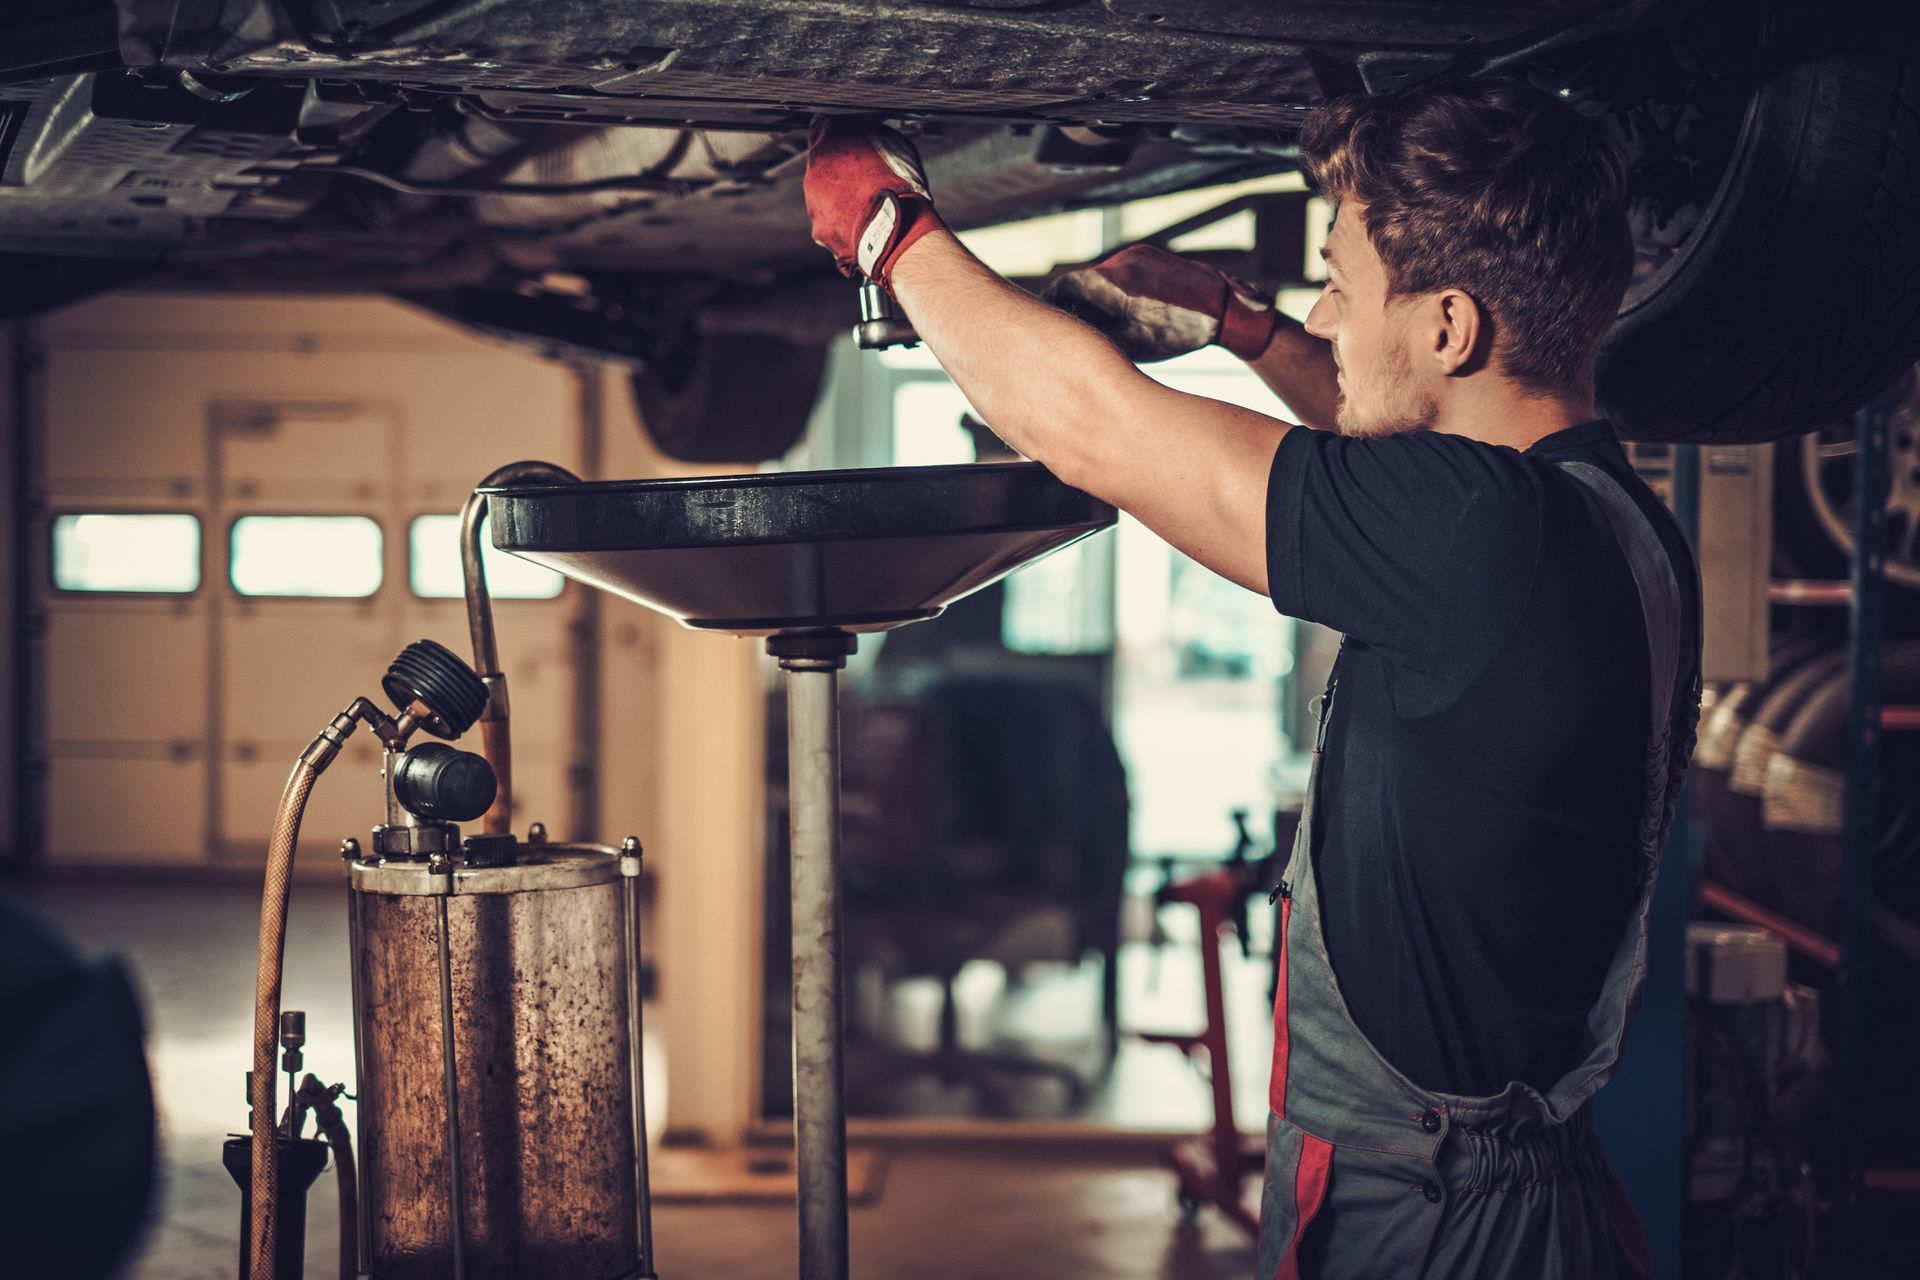
Technicians often begin by cleaning the affected area so new oil has a clean surface to appear on. Once the engine is dry, it can be run and inspected again. In some cases, the vehicle needs to be driven for a short period before the leak becomes visible.
We Look From the Highest Wet Area Down
Gravity plays a major role in how engine oil moves. A leak near the top of the engine can run downward and make a lower gasket or oil pan look responsible even when it is perfectly sealed.
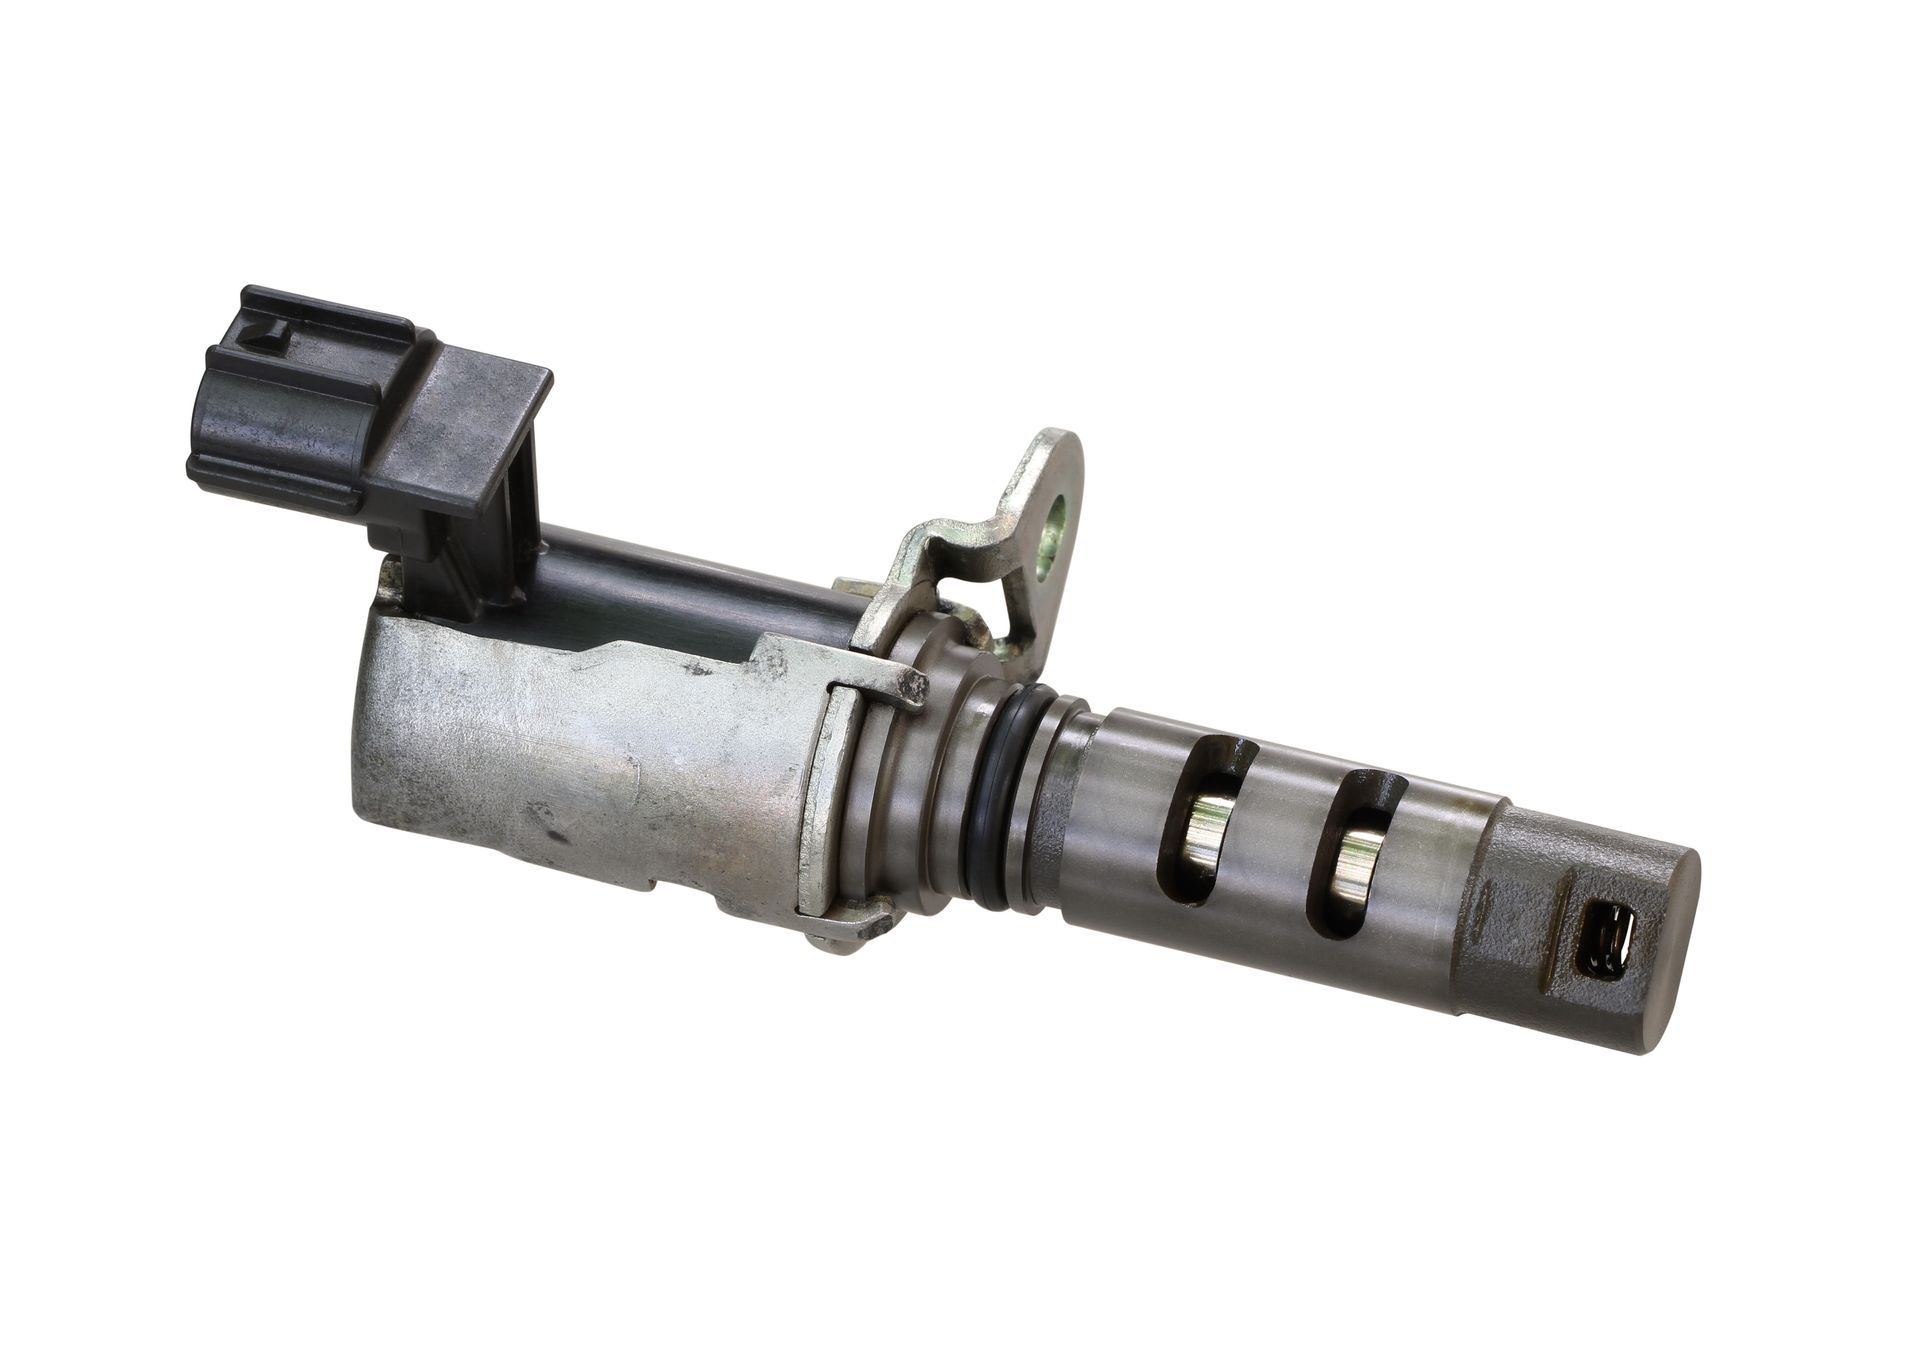
That is why mechanics generally trace oil upward toward the highest fresh wet area. Valve cover gaskets, camshaft seals, timing covers, oil filter housings, oil pressure switches, and vacuum pump seals can all leak above lower engine components. Finding the first place where fresh oil appears is much more useful than replacing the part closest to the puddle.
Common Oil Leak Sources Can Be Hidden
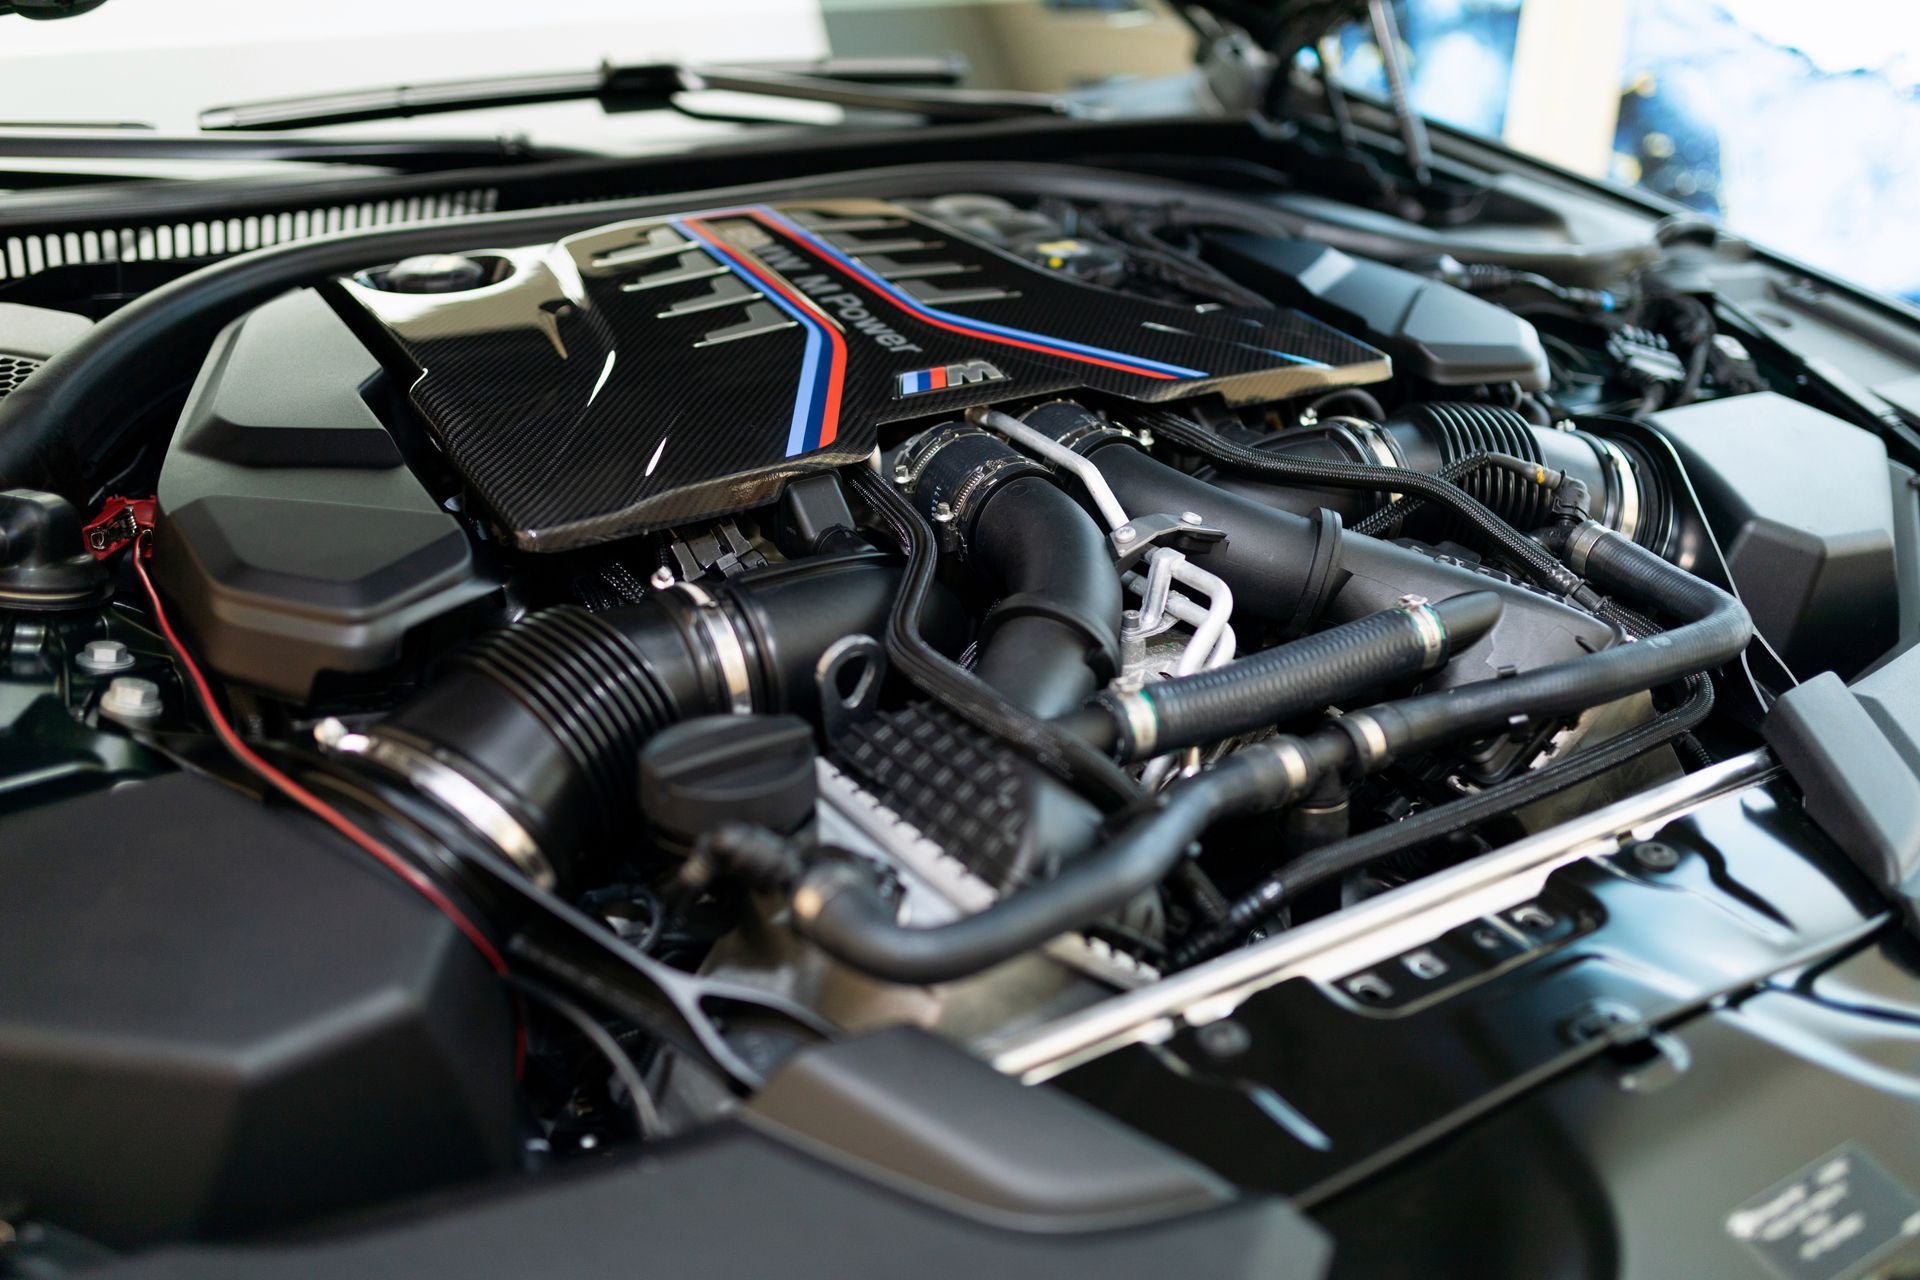
Modern engine compartments are tightly packed, and many potential leak points are partially covered by intake components, heat shields, engine mounts, splash panels, or accessory brackets. A leak may stay hidden until enough oil accumulates to reach an exposed area.
Common places technicians check include:
- Valve cover gaskets
- Oil filter housings
- Oil pressure switches and sensors
- Timing cover seals
- Front and rear crankshaft seals
- Camshaft seals
- Oil pan gaskets
- Turbocharger oil lines
- Vacuum pumps
- Oil cooler seals and lines
The exact locations depend on the engine design. Some engines develop recognizable leak patterns as they age, but the source still needs to be confirmed before parts are replaced.
Ultraviolet Dye Can Help With Very Small Leaks
When a leak is too small to identify during a normal inspection, ultraviolet dye can be added to the engine oil. The vehicle is then operated long enough for the dye to circulate and reach the leaking area.
A technician uses a UV inspection light to look for the fluorescent trace left behind by escaping oil. The bright trail can make a tiny leak much easier to follow, especially when oil has been traveling along several surfaces before dripping. Dye is also useful when the leak only appears after a longer drive.
Some Leaks Only Show Up When the Engine Is Hot
Seals and gaskets change slightly as engine temperatures rise. Metal components expand, oil becomes thinner, and oil pressure changes with engine speed. A seal that looks dry while the vehicle is cold may begin seeping after the engine reaches operating temperature.
This is one reason a quick inspection in the parking lot may not find every leak. Technicians may need to warm the engine, raise engine speed, or road-test the vehicle before checking again. Heat-related leaks are common around seals, oil filter housings, timing covers, and other areas exposed to repeated temperature cycles.
Crankcase Pressure Can Push Oil Through Weak Seals
An engine creates some pressure inside the crankcase during operation. The PCV system is designed to manage that pressure and route vapors back into the intake system. If the system becomes restricted or fails, excess pressure can force oil through seals and gaskets that might otherwise remain dry.
When several seals begin leaking around the same time, checking the crankcase ventilation system can be important. Simply replacing one gasket without addressing excessive pressure may result in another leak shortly afterward.
Oil Can Be Confused With Other Fluids
Not every oily-looking leak beneath the engine is engine oil. Transmission fluid, power steering fluid on vehicles that still use hydraulic steering, gear oil, coolant mixed with dirt, and even air conditioning residue can sometimes make the source less obvious.
Color alone is not always enough because old fluids darken with age. Technicians consider where the fluid is appearing, its smell and texture, and the components located above it. Correctly identifying the fluid prevents repairs from starting in the wrong system.
Rear Main Seal Leaks Require Careful Confirmation
The rear main seal sits where the crankshaft exits the back of the engine, usually between the engine and transmission. Because replacing it often requires significant labor, technicians should confirm the leak carefully before recommending the repair.
Oil dripping from the area between the engine and transmission does not automatically mean the rear main seal has failed. Oil from a valve cover, vacuum pump, oil pressure sensor, or another higher component can travel down the back of the engine and collect in the same location. Cleaning and tracing the leak is especially important in this situation.
A Leak and Oil Consumption Are Not the Same Problem
If the engine oil level keeps dropping but there is little or no visible leakage, the engine may be consuming oil internally. Worn piston rings, valve stem seals, turbocharger problems, or other internal conditions can allow oil to enter the combustion process.
An engine can also have both an external leak and internal oil consumption at the same time. Measuring how quickly the oil level falls between services and checking for visible leakage helps technicians determine which direction the testing should take.
Small Leaks Should Still Be Monitored
A minor seep does not always require immediate major repair, especially if the oil level remains stable and the leak is not reaching hot exhaust components. The important part is knowing where it comes from and whether it is getting worse.
During regular maintenance, an inspection can show whether a previously minor leak has started spreading, dripping, or lowering the oil level between services. Checking the dipstick regularly is still important because even a small leak can become more serious over time.
Get Oil Leak Testing and Repair in Cape Coral, FL, With George's Complete Auto Repair
George's Complete Auto Repair in Cape Coral, FL, can clean and inspect leaking areas, trace fresh oil, use UV dye when needed, and check related seals, gaskets, oil lines, and crankcase ventilation components.
If you are finding oil spots under your vehicle or the oil level keeps dropping between services,
contact us to schedule testing and repair.